背景
基于ELK搭建一个实时日志分析平台
架构

下载
filebeat:https://artifacts.elastic.co/downloads/beats/filebeat/filebeat-7.13.1-linux-x86_64.tar.gz
kafka:https://downloads.apache.org/kafka/2.8.0/kafka_2.12-2.8.0.tgz
elasticsearch:https://artifacts.elastic.co/downloads/elasticsearch/elasticsearch-7.13.2-linux-x86_64.tar.gz
logstash:https://artifacts.elastic.co/downloads/logstash/logstash-7.13.2-linux-x86_64.tar.gz
kinba:https://artifacts.elastic.co/downloads/kibana/kibana-7.13.2-linux-x86_64.tar.gz
1
2
3
4
5
6
7
8
9
10
|
wget https://artifacts.elastic.co/downloads/beats/filebeat/filebeat-7.13.1-linux-x86_64.tar.gz
wget https://downloads.apache.org/kafka/2.8.0/kafka_2.12-2.8.0.tgz
wget https://artifacts.elastic.co/downloads/elasticsearch/elasticsearch-7.13.2-linux-x86_64.tar.gz
wget https://artifacts.elastic.co/downloads/logstash/logstash-7.13.2-linux-x86_64.tar.gz
wget https://artifacts.elastic.co/downloads/kibana/kibana-7.13.2-linux-x86_64.tar.gz
ls *.tar.gz | xargs -n1 tar xzvf
sudo chown -hR root /home/mikey/Downloads/ELK/filebeat-7.13.1-linux-x86_64
|
安装
Kafka
1
2
| nohup ./bin/zookeeper-server-start.sh config/zookeeper.properties &
nohup ./bin/kafka-server-start.sh config/server.properties &
|
Elasticsearch
kibana
Filebeat
1.查看可用的收集模型
2.开启需要收集的模型
1
| ./filebeat modules enable system nginx mysql
|
3.设置日志文件路径,编辑filebeat.yml配置文件
1
2
3
4
5
6
7
8
9
10
11
12
|
output.kafka:
hosts: ["kafka1:9092", "kafka2:9092", "kafka3:9092"]
topic: collect_log_topic
partition.round_robin:
reachable_only: false
required_acks: 1
compression: gzip
max_message_bytes: 1000000
|
4.授权启动
1
2
3
| sudo chown root filebeat.yml
sudo chown root modules.d/system.yml
sudo ./filebeat -e
|
5.添加大盘
1
| ./filebeat setup --dashboards
|
logstash
1.配置文件
1
2
3
4
5
6
7
8
9
10
11
12
13
14
15
16
17
18
19
20
21
| input {
kafka {
type => "ad"
bootstrap_servers => "127.0.0.1:9092,114.118.13.66:9093,114.118.13.66:9094"
client_id => "es_ad"
group_id => "es_ad"
auto_offset_reset => "latest"
consumer_threads => 5
decorate_events => true
topics => ["collect_log_topic"]
tags => ["nginx",]
}
}
output {
elasticsearch {
hosts => ["114.118.10.253:9200"]
index => "log-%{+YYYY-MM-dd}"
document_type => "access_log"
timeout => 300
}
}
|
2.创建目录
3.启动logstash
1
| nohup bin/logstash -f config/kafka-logstash-es.conf --path.data=./logs_data_dir 1>/dev/null 2>&1 &
|
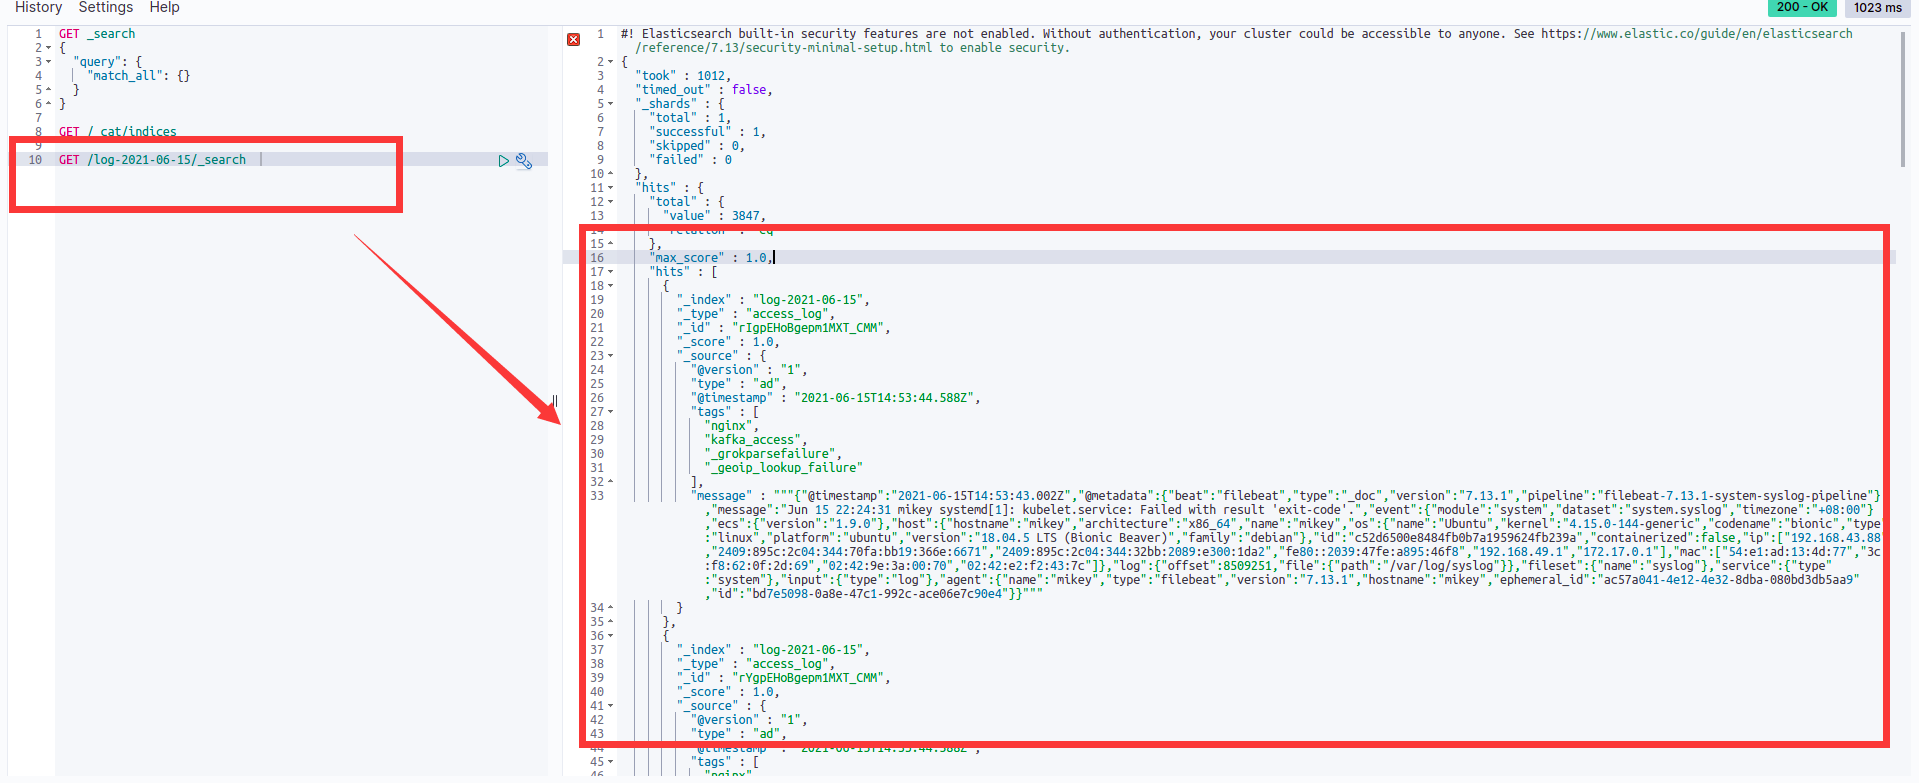
效果


整合项目
整合Java项目
1.配置logstash.conf(在input添加)接收日志tcp
1
2
3
4
5
| tcp {
# host:port就是上面appender中的 destination,
# 这里其实把logstash作为服务,开启9250端口接收logback发出的消息
host => "0.0.0.0" port => 9250 mode => "server" tags => ["tags"] codec => json_lines
}
|
2.加入maven依赖
1
2
3
4
5
| <dependency>
<groupId>net.logstash.logback</groupId>
<artifactId>logstash-logback-encoder</artifactId>
<version>6.1</version>
</dependency>
|
3.配置logback.xml
1
2
3
4
5
6
7
8
9
10
11
12
13
14
15
16
| <configuration>
<!-- 项目的appid -->
<property name="APP_ID" value="my_app"/>
………………
<appender name="LOGSTASH" class="net.logstash.logback.appender.LogstashTcpSocketAppender">
<!--
destination 是 logstash 服务的 host:port,
相当于和 logstash 建立了管道,将日志数据定向传输到 logstash
-->
<destination>192.168.91.149:9250</destination>
<encoder charset="UTF-8" class="net.logstash.logback.encoder.LogstashEncoder">
<customFields>{"appname":"${APP_ID}"}</customFields>
</encoder>
</appender>
………………
</configuration>
|
资料
相关博文: 一篇文章搞懂filebeat(ELK)
Filebeat官方文档: Filebeat Reference
filebeat输出到kafka: https://www.elastic.co/guide/en/beats/filebeat/current/kafka-output.html


